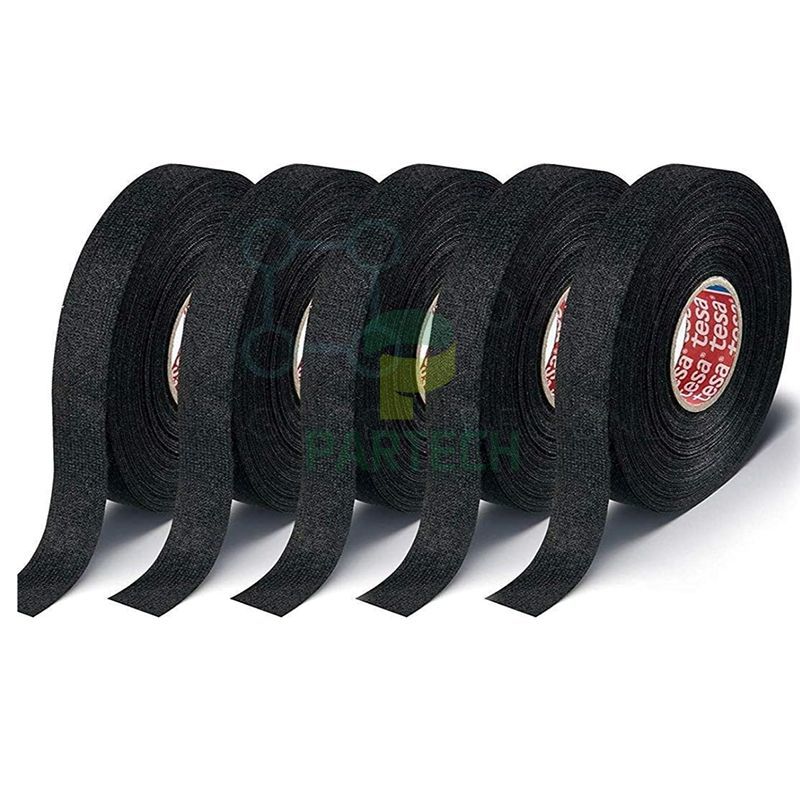

People often ask for solutions to the issue of tape lifting. This is a common problem in wire harness manufacturing, yet a satisfactory solution has long been elusive.
We have compiled some methods below regarding wire harness taping that we hope will be helpful to you.
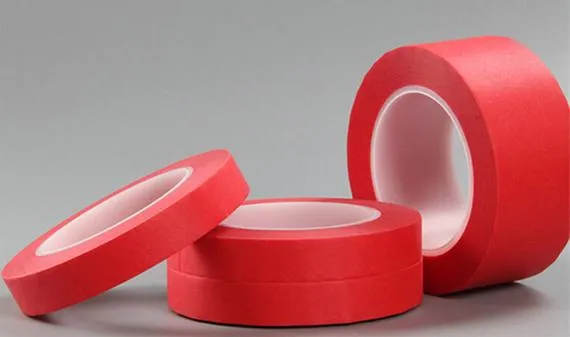
1. Surface requirements for the wire harness insulation (e.g., Teflon, PTFE, low-surface-energy materials, etc.)—poor adhesion may occur otherwise.
1. Substrate requirements:
-Free of dirt
-Free of grease/oil stains
-Dry
The following products must not be used during the process:
-Talcum powder
-Silicone
-Mold release agents
-Hand cream
2. When pulling tape from the roll:
Do not store the tape in the manner shown in the image below.
Do not touch the end of the tape with your fingers (if they have oil on them)!
3. Keep the tape roll close to the wire harness.
The tape should not be wrapped too loosely (avoid excessive overlap).
An ideal wrap is tight, orderly, and involves three wraps at the very end.
4. Do not cut the tape from too far away...
Ideally, the cut should be made very close to the wire harness.
5. Cutting at a diagonal angle facilitates assembly.
Cut the tape at a 45-degree angle.
Key point: Keep it short and press firmly!
6. The final step of taping must be secured using short, firm pressure from the thumb (the left image shows the index finger; the right image shows the thumb).
7. Never simply stick the end of the tape onto the wire harness...
Wrap it around three times before finishing.
8. If you notice the tape edge coming loose or fraying during use, trim it off with scissors before continuing the wrapping process.
9. When the end involves thick tape, it should be paired with a layer of PVC or PE tape.
10. Reduced tape adhesion – e.g., in winter, tape adhesion may decrease due to low temperatures.
In such cases, the tape should be stored in a warming cabinet.
1. Begin wrapping at the branch line and gradually move toward the main line.
2. Wrap in the direction from the upper branch toward the lower branch.
3. Position the two branch lines at the desired angle.
4. Wrap tape again over the section where the lower branch meets the upper branch (covering the already taped area).
5. Then, wrap only the lower branch again.
6. Wrap both branches together twice more, then proceed to wrap the main wire bundle; if a larger diameter is encountered...
7. Wrap the upper branch again, and then...
8. Begin wrapping the main wire bundle.
1. Wrap a short section of the wire bundle, moving toward the tube opening.
2. If the position is too close to the tube, use a tool to make a small slit.
3. Slide the tube over the taped section and insert the tape into the slit.
4. Wrap a layer of tape around the tube.
5. Then continue wrapping the wire bundle.
Tape lifting is not actually related to the magnitude of the tape's unwind force; rather, the unwind force serves as an indicator of consistent quality control during production.
Regarding product appearance and manufacturing process: the cross-section of one type of tape may appear uneven—showing a deviation of about 0.1 mm—while another type features a very smooth surface and excellent appearance. However, neither type affects usability for the customer.